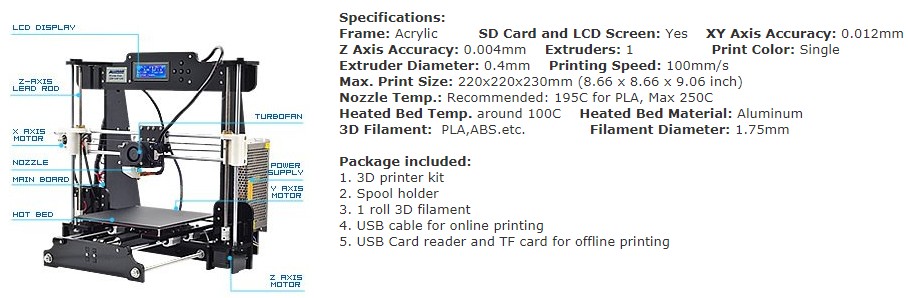
3D Printer
 Earlier this year, I took the leap into the world of 3D printing. Prior to, I had heard about 3D printers and was intrigued by the prospects of such a futuristic device, but was deterred by cost, mostly. It wasn’t until a couple buddies at work had mentioned their interest in 3D printing and who eventually bought kits of their own convinced me to take the plunge.
They showed me the plethora of different types of printers out there ranging from inexpensive kits that required a lot of fiddling-with, to the expensive models that are ready to go out of the box. Both extremes have their pros and cons, and which model you pick usually depends on how much effort you want to put into learning and tinkering – and how deep your pockets are.
After they brought in samples of creations they made on their printers, I became fully aware of the possibilities (and limitations!) a 3D printer has, I started to become convinced and decided to try it out.
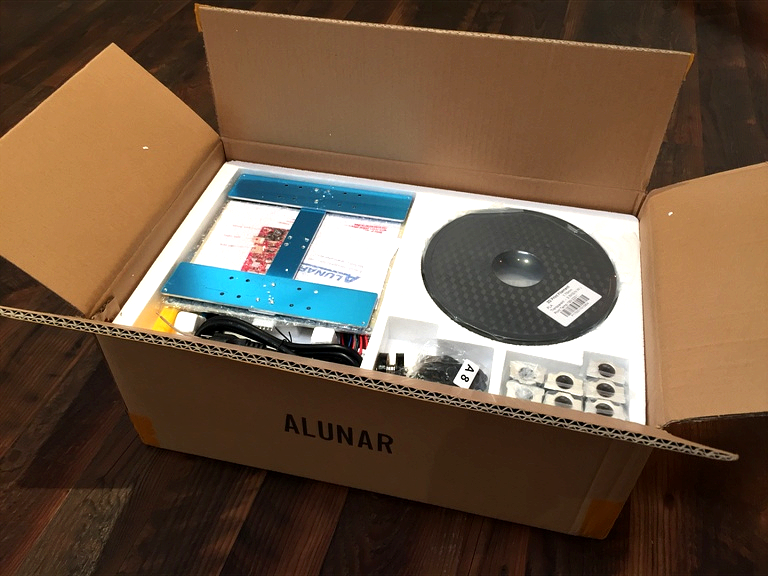
I ended up going with a Alunar M505, which is a cheaper ‘knock-off’ version of the Anet A8 (which is actually a variant of a Prusa i3, ha! Trust me, that’s just the tip of the confusion iceberg). I got this model because, for me, it was a nice balance of cost and quality. It was cheaper than a lot of other models out there because one, it was a knock-off, and two, because it was also a kit you had to assemble yourself.
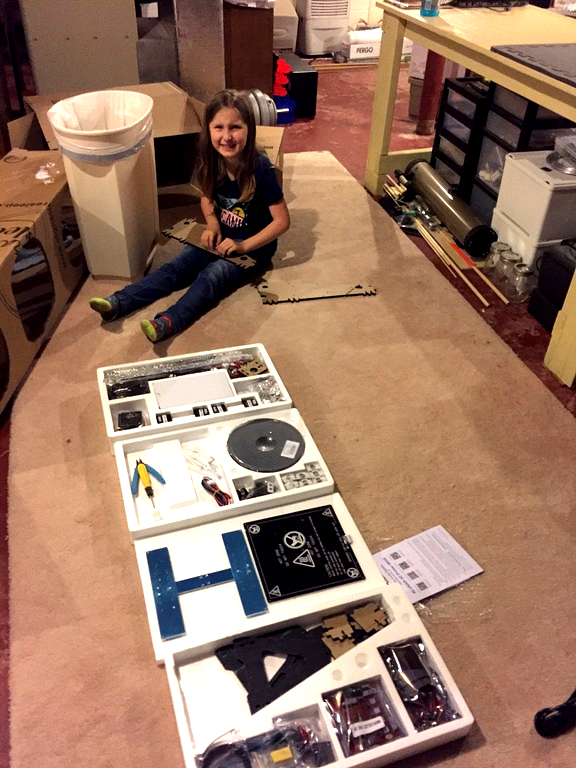


Most people want to start playing with their toy right away but I delayed my gratification by spending the time building the kit before playtime. I genuinely wanted the challenge of putting it together not only because it’s fun, but also because it would teach me how the thing actually works! So if something breaks or needs modified, the knowledge of the machine’s functionality would make things so much easier.
 The learning curve, though, was steep for sure. Lucky for me, my friend at work had already figured out a lot of the confusing idiosyncrasies. He scaled the learning curve, deciphered the manuals, combed the message boards, and broke everything down for me which made my 3D printer D.I.Y experience much easier. He even shared his knowledge of things including necessary modifications that are much easier to implement while building the machine which saved me a lot of time.
But the building process was only half the battle. Turns out, the world of 3D printing is not as ‘figured out’ and streamlined as I had thought. The 3D printing industry is definitely still in its infancy and there is a lot of ‘tinkering’ still necessary in order to get these things to work properly – lots of technical stuff like precise temperature control, properly calibrated stepper motors, and seemingly hundreds of tweakable settings like extrusion multipliers, internal fill patterns, and “g-code offsets.”
 But again, once you put the time and effort into figuring this stuff out, you can be rewarded with some pretty cool creations! Since the 3D printing community is still a mostly grassroots, D.I.Y. group of people, almost everything is open source. And tons of useful information and helpful people are just waiting out there to help you. And people love to share the creations they made. There are entire websites devoted to hosting user-generated creations so that anyone can login and download those files and print them themselves.
I’ve printed things ranging from simple tinker toys to useful ratchet sets; from beautiful vases to actual, playable instruments! No lie, I actually printed a ukulele… that works! That you can actually play! You read that right: we now live in an age where you can print an instrument! (I love the future.) I printed a ratchet using the same exact file that the astronauts used to do micro-gravity 3D printing experiments… which means I have an exact replica of a tool they use on they use on the International Space Station! How cool is that?!
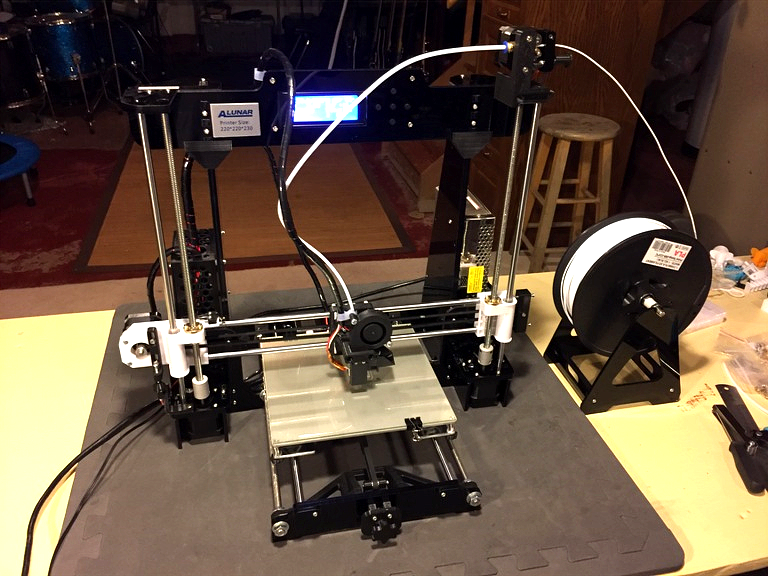
Finished!
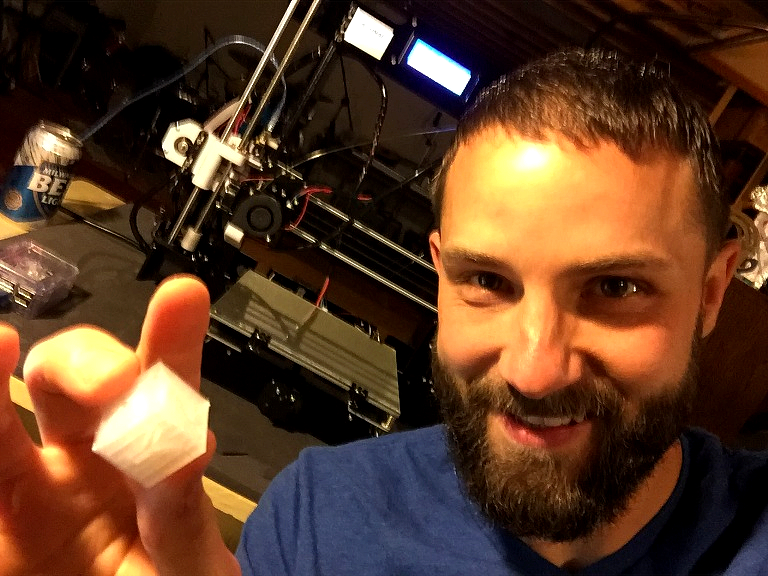
First print!
Ha, it really looks like the A8 :-) Happy printing!