Test 1: Altitude Logger
I have successfully completed Test 1 of my latest project. What is my latest project? I’m actually not sure! Honestly, I have a few ideas I want to pursue but I haven’t determined the ultimate goal. In fact, I may end up completing all my ideas by the end, but this is the first step anyway…
This first test was an altimeter with logging capabilities. All I wanted to do was be able to get sensor data, determine the altitude, and log that data for later review. Happily, it worked! Eventually I’d like to put this device combined with other devices like an accelerometer and camera into a rocket, then maybe a high altitude balloon. Maybe even add a tiny gyroscope to control the rocket?! So, where did these ideas come from?
Actually, my cousin Andy has wanted to construct a high-altitude balloon – one that reaches the edge of space, literally – launch it, take some pictures and maybe get some sensor data, and recover the device for many years now (since high-school maybe?). Amazingly, he has actually built the thing (which is WAY more advanced than anything I can come up with – complete with a GPS-guided glider!) but hasn’t launch it yet since his requires acquisition of a few expensive/hard-to-come-by components, i.e. hydrogen, and long distance radio devices. I told him I’d love to help him with it but my only feeble contribution would be an altimeter. So while he worked on his Flux Capacitor, I started with an altimeter logger. At least I got that working! Check out the pictures…
Technical stuff:
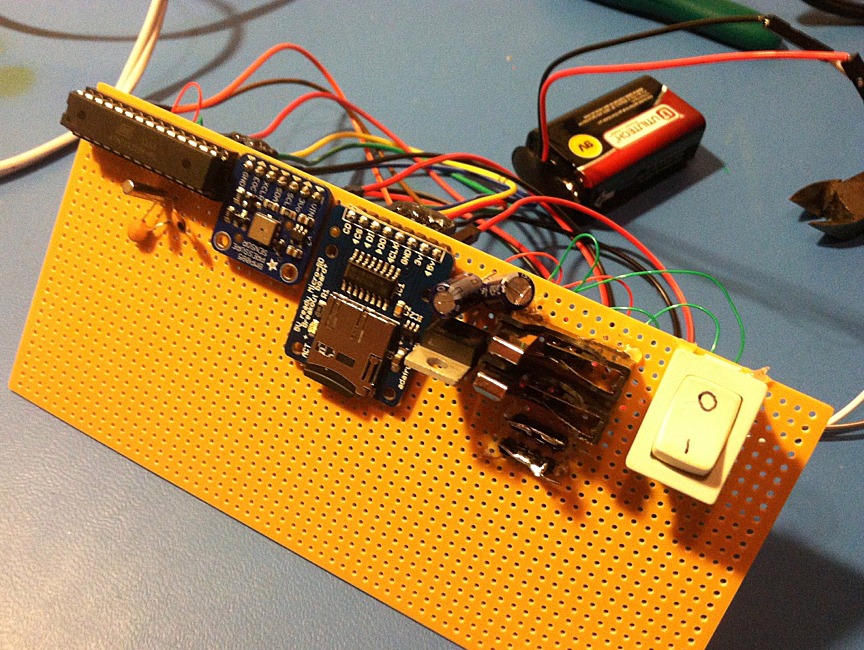
Microcontroller: ATmega328
Sensor: BMP085
Logger: Adafruit MicroSD Breakout Board
Everything Else: My design…
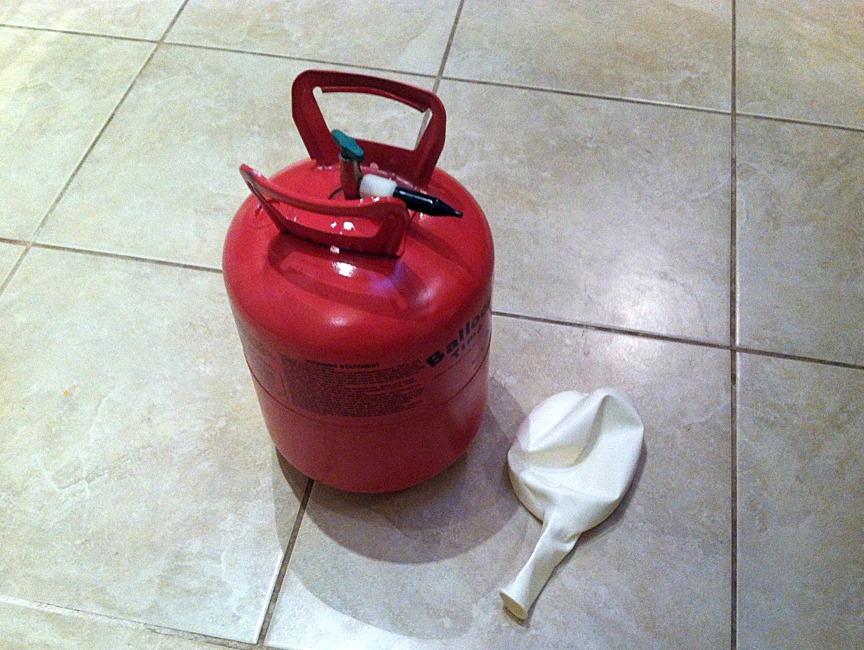
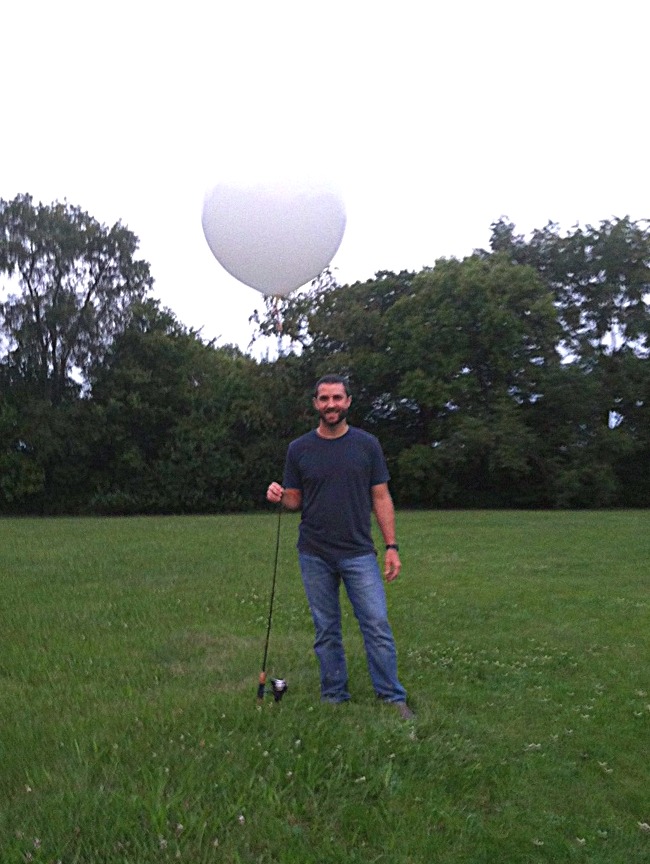
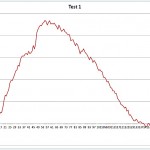
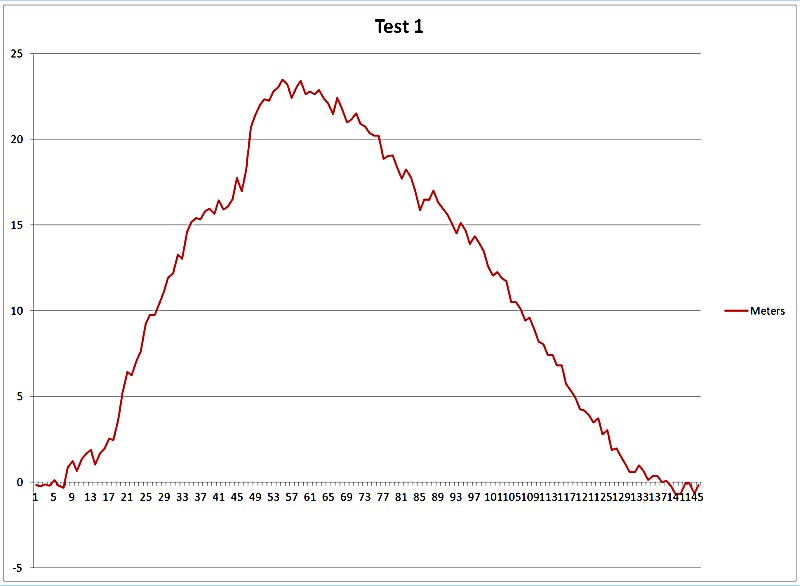
For the test, I used a party balloon helium tank to fill a 36″ balloon I got off of Amazon, attached the device to it and tethered the whole thing to a fishing pole. I let it out until the line ran out, then pulled it back in. You can see the graphed results below.
-
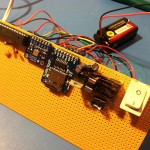
- Prototyping
-
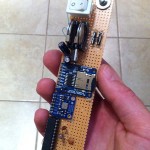
- Front
-
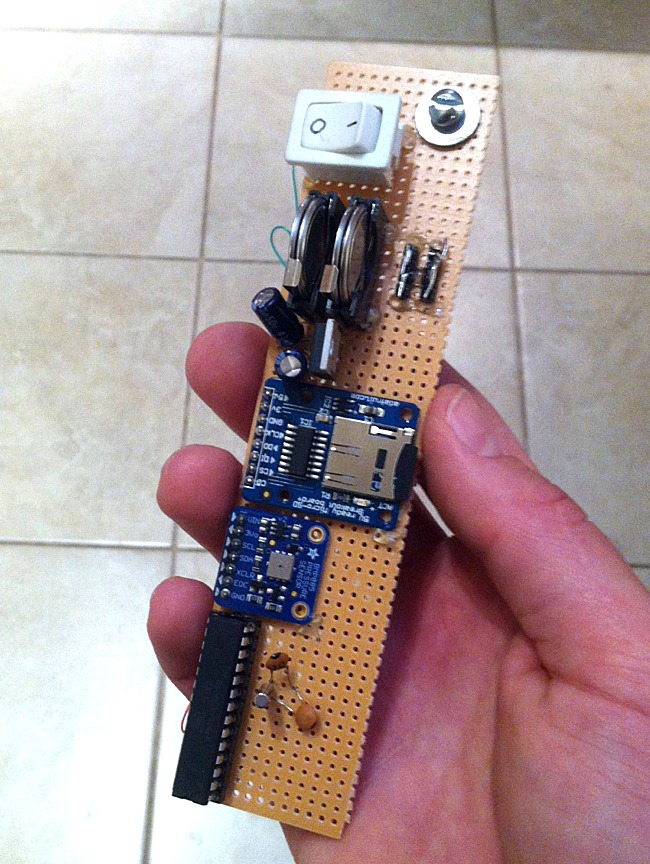
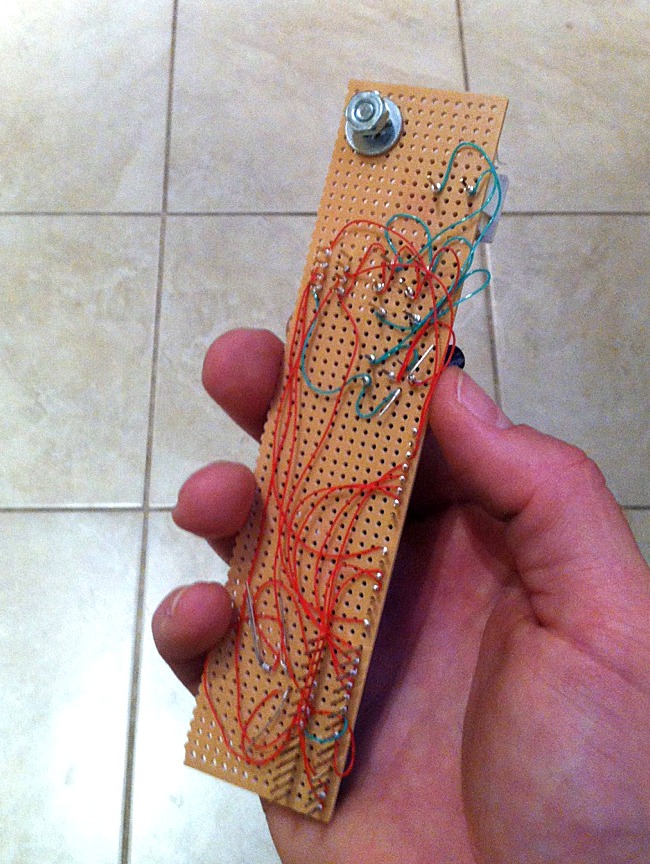
- Back
-
- Helium
-

- Attached

-
- Deploy
-
- Meters per second
SOURCE CODE
#include <Wire.h>
#include <Adafruit_Sensor.h>
#include <Adafruit_BMP085.h>
#include <SD.h>
Adafruit_BMP085 bmp = Adafruit_BMP085(10085);
// set up variables using the SD utility library functions:
Sd2Card card;
SdVolume volume;
SdFile root;
const int chipSelect = 10;
/**************************************************************************/
/*
Arduino setup function (automatically called at startup)
*/
/**************************************************************************/
void setup(void)
{
pinMode(10, OUTPUT);
/* Initialise the sensor & card */
if(!bmp.begin()) {}
if(!SD.begin(chipSelect)) {}
}
/**************************************************************************/
/*
Arduino loop function, called once ‘setup’ is complete (your own code
should go here)
*/
/**************************************************************************/
void loop(void)
{
delay(1000);
/* VARIABLES */
float pres = 0;
float temperature = 0;
float temp = 0;
float alt = 0;
float seaLevelPressure = SENSORS_PRESSURE_SEALEVELHPA;
float basealt = 0;
float curalt = 0;
sensors_event_t event;
bmp.getEvent(&event);
pres = event.pressure;
bmp.getTemperature(&temperature);
temp = temperature;
alt = bmp.pressureToAltitude(seaLevelPressure,event.pressure,temperature);
basealt = alt;
while(true){
sensors_event_t event;
bmp.getEvent(&event);
pres = event.pressure;
bmp.getTemperature(&temperature);
temp = temperature;
alt = bmp.pressureToAltitude(seaLevelPressure,event.pressure,temperature);
curalt = alt – basealt;
// open the file. note that only one file can be open at a time,
// so you have to close this one before opening another.
File dataFile = SD.open(“datalog.txt”, FILE_WRITE);
dataFile.print(pres);
dataFile.print(“,”);
dataFile.print(temp);
dataFile.print(“,”);
dataFile.println(curalt);
dataFile.close();
delay(1000);
}
}
i just loved it but can you please attach the codes seeded in arduino
Thanks!
Sorry! -I should have included it… [fixed]